
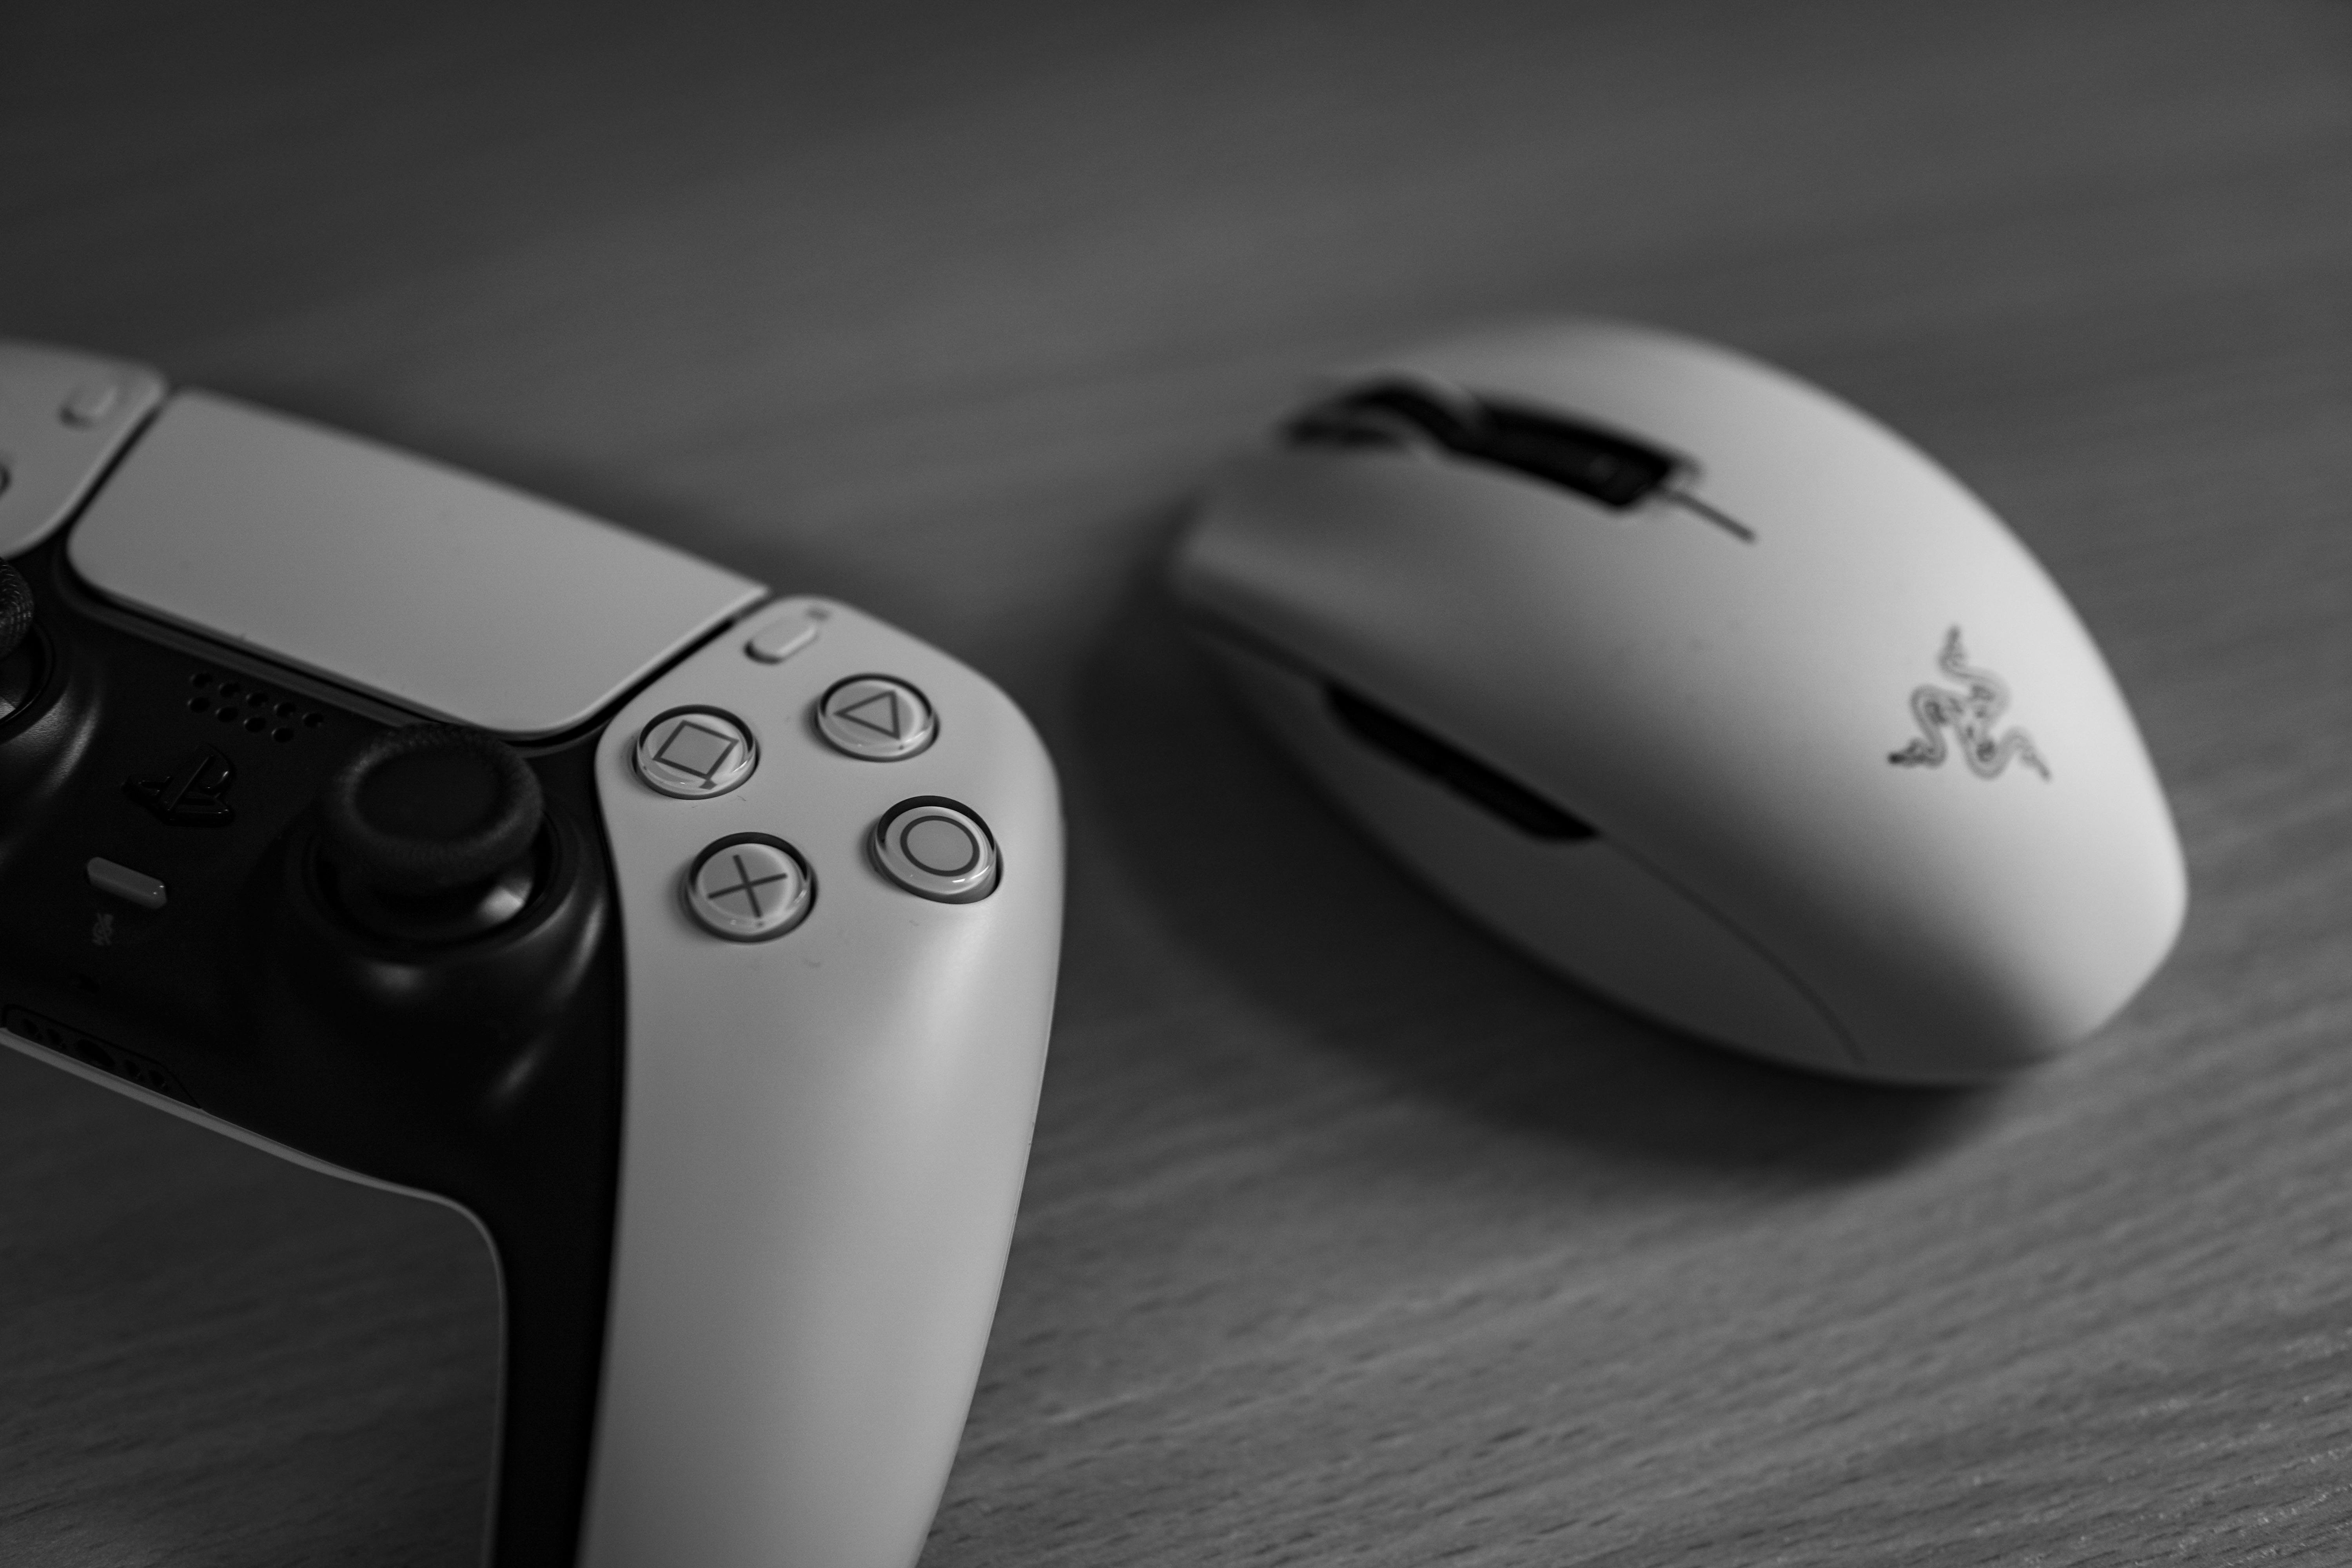
Every game applies a deadzone to analogue sticks, ignoring input below a threshold. The setting exists because the hardware never reports a true zero, and its configuration shapes fine control.
Sticks report movement when they are not being moved
An analogue stick measures position with sensors that produce a small, fluctuating reading even at rest. Mechanical wear widens that fluctuation over time.
Without a deadzone, a resting controller would produce continuous slow movement, which is the drift players report on worn hardware.
A deadzone treats readings below a threshold as zero, which removes the drift at the cost of discarding genuine small movements.
The threshold trades stability against precision
A large deadzone tolerates worn controllers and guarantees a still camera, but the player must push noticeably before anything happens.
That produces the sensation of a control that feels disconnected near the centre, which is exactly where fine aiming adjustments are made.
A small deadzone gives responsive fine control and exposes any drift the hardware has, which is why the setting is increasingly exposed to players rather than fixed.
Shape matters as much as size
A circular deadzone ignores movement in any direction below the threshold. A square or cross-shaped one treats the axes separately.
Axis-separated deadzones make pure horizontal and vertical movement easier to hold, which suits menu navigation but distorts diagonal input in aiming.
Games that feel as though the aim snaps toward the cardinal directions are usually applying per-axis processing rather than treating the stick as a single position.
Response curves are a separate adjustment
Beyond the deadzone, a game maps stick position to speed through a curve, and that curve need not be a straight line.
A curve that rises slowly at first gives fine control near the centre and fast movement at the edge, which is why it is common in shooters.
Players sometimes attribute curve behaviour to deadzones because both affect how the centre feels. They are distinct settings and adjusting the wrong one does not help.
Outer thresholds exist too
Sticks also fail to reach their theoretical maximum reliably, so games apply an outer limit beyond which input registers as full deflection.
Without it, a player pushing fully would sometimes get slightly less than maximum, making sustained turns inconsistent.
Between the two thresholds sits the usable range, and calibration is really the process of finding where a specific controller's usable range begins and ends.